 |
| Source: http://www.tropicalforages.info |
 |
| Source: www.tropicalforages.info |
Many people use plastic aquarium grass to represent this, and I've seen it done rather well. However, I wanted to create some grass sections that I felt looked a bit closer to the real thing.
Combing through the dried and plastic plants section of the local Michael's craft store, I found this clump of decorative grass for around $5.
It is a dried grass that has been treated with a green dye. This gives it a nice bit of spotting and color variation, making it look more natural to the eye. Additionally, some of the grass tips have been dipped into a mix of small brown flakes, giving the appearance of seeds. On the table, I think this will do well to mimic the look of the seed pods seen on the grass.
To base my grass, I took some thin fiberboard scraps I had lying around, and cut them into random shapes with a jigsaw. The edges were filed down and I proceeded to drill holes into the base of various sizes to accommodate the clumps.
A bit of textured gel was added around the edges, then I painted the base in two brown tones. Lastly, I put a temporary layer of packing tape across the bottom to help prevent glue from dripping out of the holes.
Here is the intial test clump:
Sections of grass were cut to various lengths, arranged in bundles, and inserted into carpenter-glue filled holes on the base. I started in the center of the base and filled outward. The reason for this is the grass has a tenancy to fall over, and I wanted to build a strong core first. After the core dries, you can let the outer clumps rest against it as their glue dries.
I learned a few things from this first attempt to help with my next build. First, if you pack the grass in too loose, the problem of falling over is magnified and it is easier to knock the grass out of it holes even after the glue has dried, giving me spots that look too bare. Second, as you get to the base of the grass, it obviously gets thicker. To my eye, this thicker grass looks out of proportion for 28mm figures, and a blunt tip magnified this.
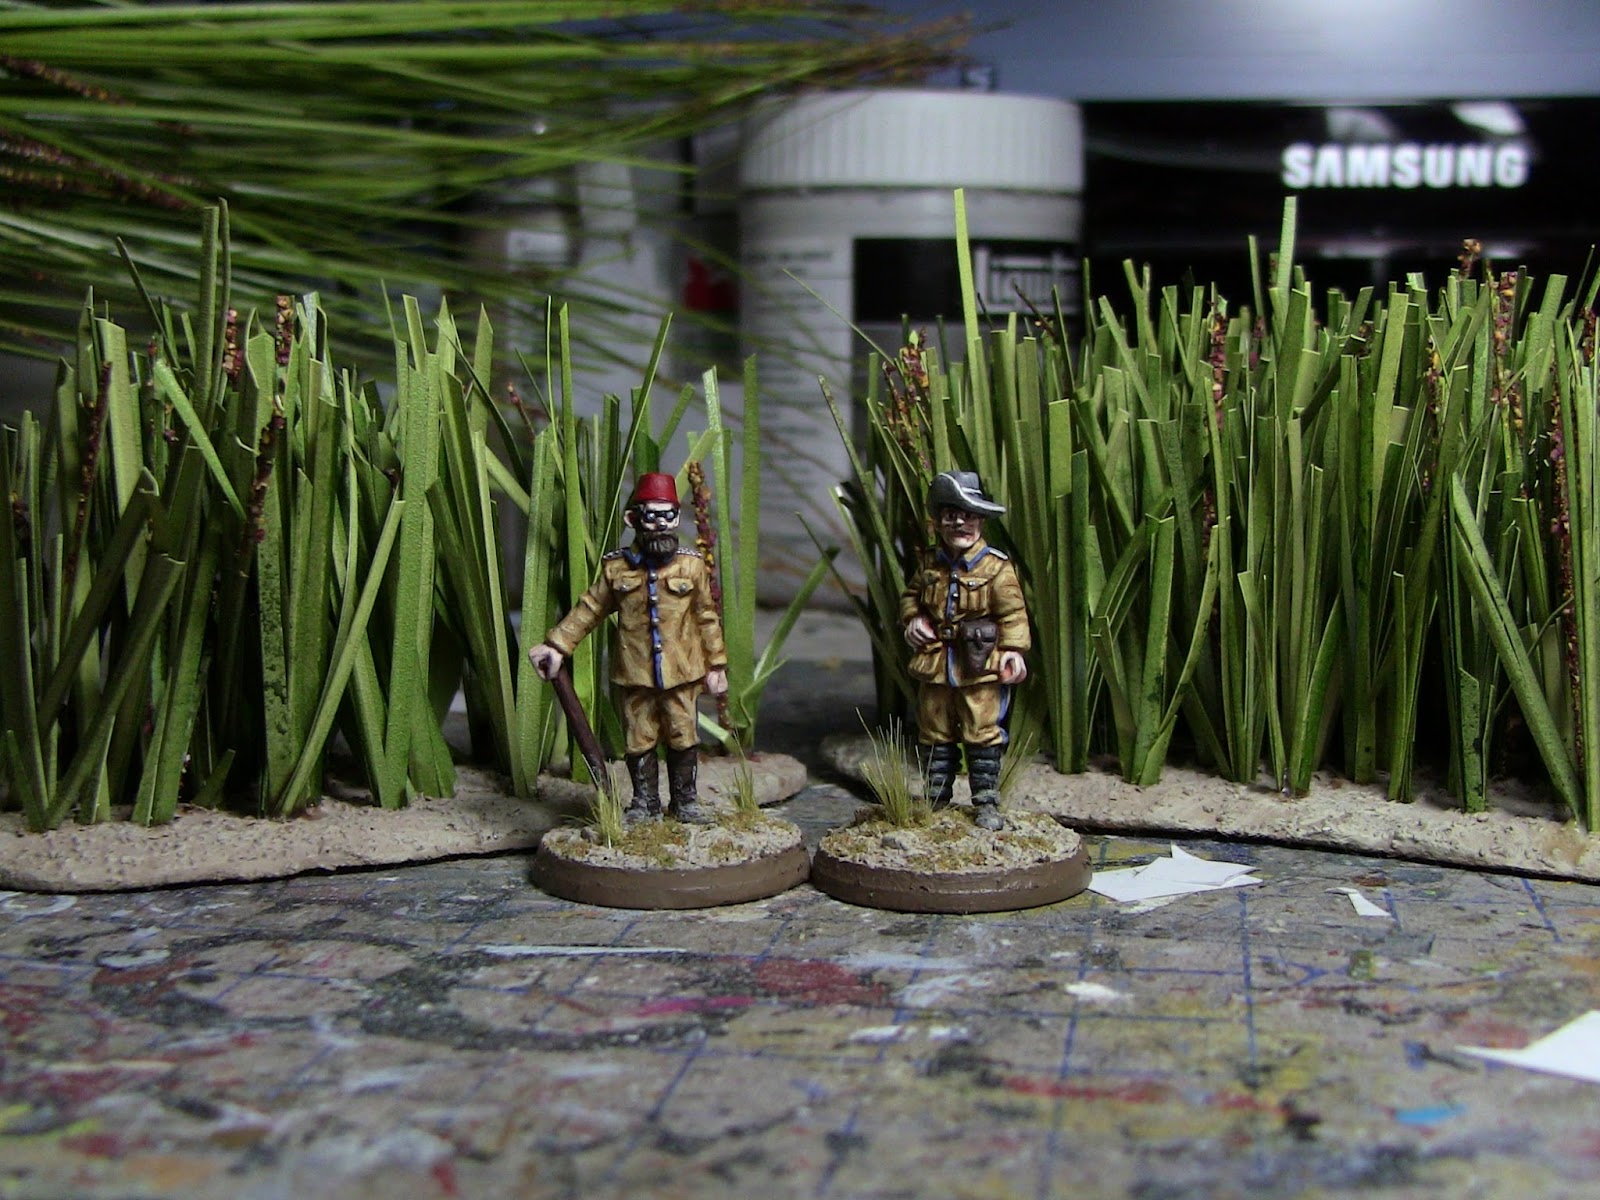
So for the second stand of grass, I decided to really pack the holes, then bend grass as needed after the glue dried. When I got to the thicker grass pieces, I often cut the tips on angles and also split the grass into multiple strands so they would look thinner and more random. Overall, I think I ended up with a much improved product; it looks more natural and is also sturdier.
As the photo of the real grass shows, it can get twice as tall as a man. From my perspective, something this tall would be a pain to store and would also give me fewer stands out of my grass. Therefore, I've decided to make my clumps just slightly taller than my figures.
 |
| Original stand on the left, new one on the right. |


0 Yorumlar